Wednesday, June 18, 2014

Peanut Butter Cup Blizzard

I scream, you scream, we all scream for ice cream! Not many things taste better than a cold and creamy ice cream blizzard on a hot summer day.  While there is absolutely nothing wrong enjoying a DQ frozen treat, it isn't really something you will want to eat everyday...I am going to show you a super tasty Peanut Butter Cup Blizzard that you can eat everyday without guilt! 
Looks pretty awesome right?! I bet you can't even tell that it is low fat and high protein! 

I combined two of my favorite products from two of my favorite companies for this bowl of yum.
Quest and MTS! High protein peanut butter cups and extra protein from peanut butter fluff whey. 

You will need a few other ingredients as well.
Of course you need the ice cream, but Reddi Whip and chocolate sauce are completely optional.  I am using Turkey Hill no sugar added Vanilla Bean ice cream.  Highly recommend this brand! It doesn't taste low sugar or fat free at all!

Open up your peanut butter cups.  I know it will be hard, but don't eat them yet!!
Side note...these are great on their own right out of the freezer!

Chop them up!
I like really big chunks, but make them whatever size you want.  

You could just add one peanut butter cup, but I used both for my blizzard.
I guess you could add one and eat one...so good!

Serve up the ice cream!
One serving is all I needed.  You could use any flavor too! Try a chocolate peanut butter blizzard!

Add 1/2 scoop protein powder to the ice cream and mix it up.  The protein makes the blizzard extra thick! I love having one of these after a workout! 
Stir in the peanut butter cup chunks and stick back in the freezer for a bit.

Get whatever toppings your little heart desires! I kept it somewhat simple with the Reddi Whip and sugar free chocolate syrup.
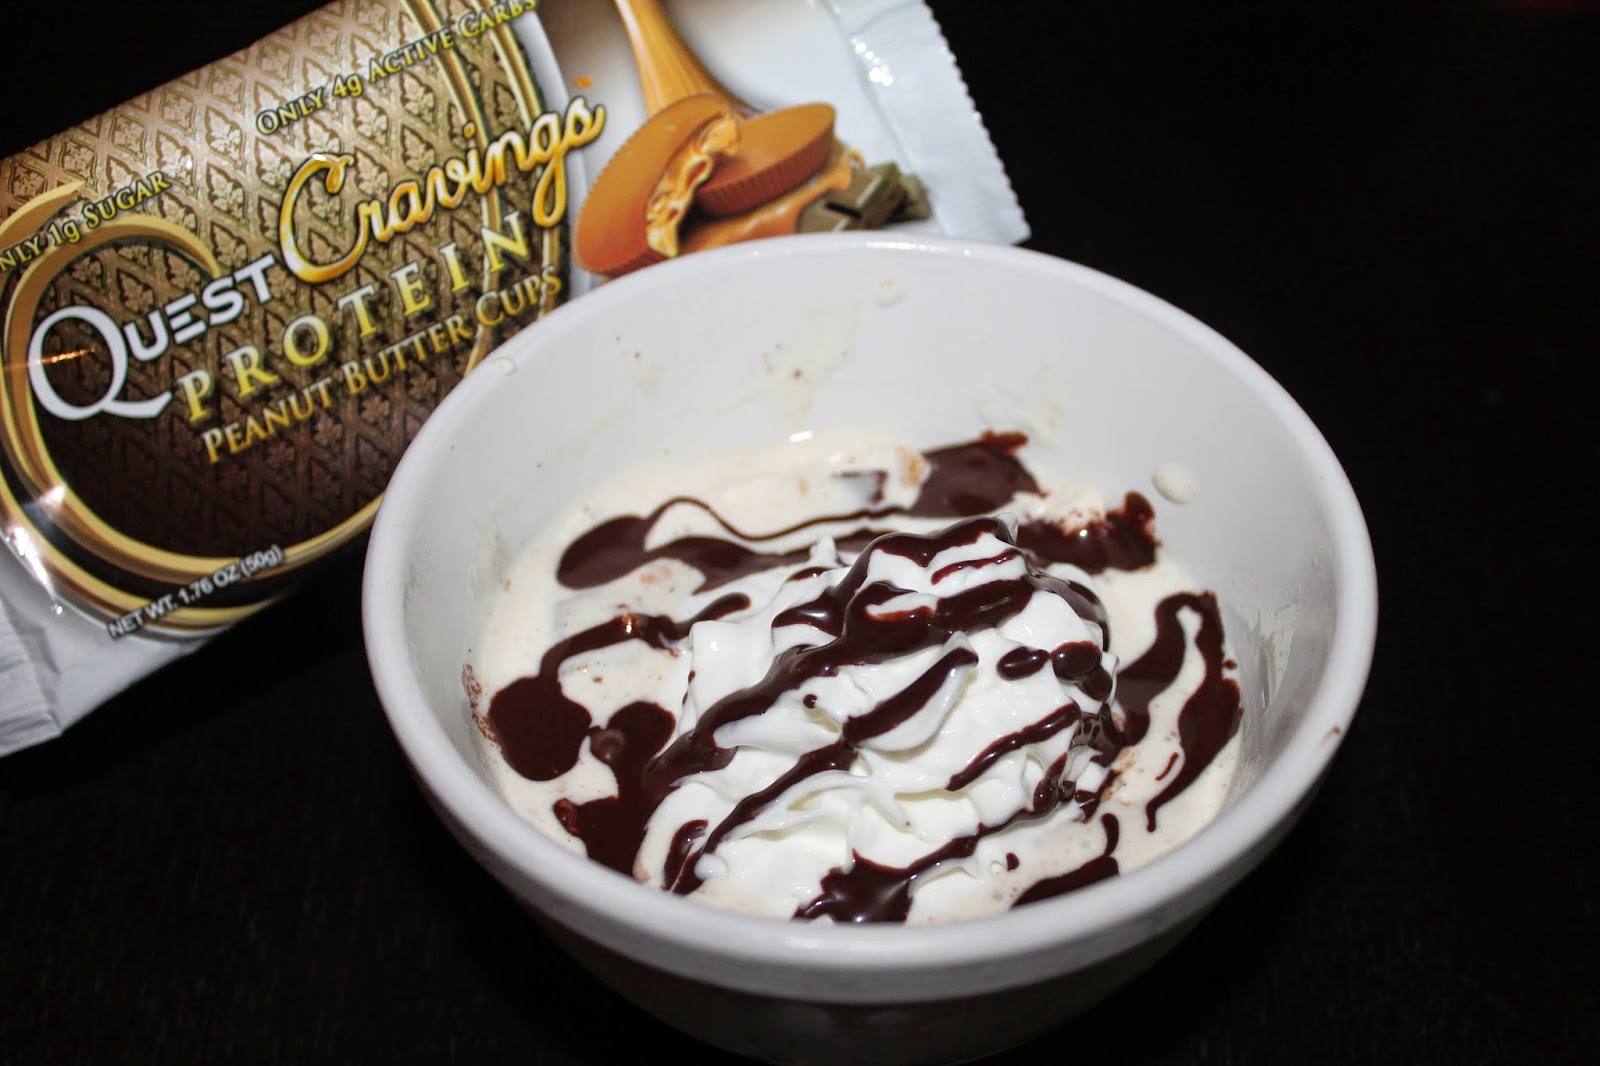
Yea, it tastes as good as it looks! This bowl of peanut butter protein goodness is much better for you than any blizzard you will buy at a fast food restaurant!

Make sure you get some of everything in each bite!
YUM!!

Peanut Butter Cup Blizzard
  • 1 package Quest Peanut Butter Cups
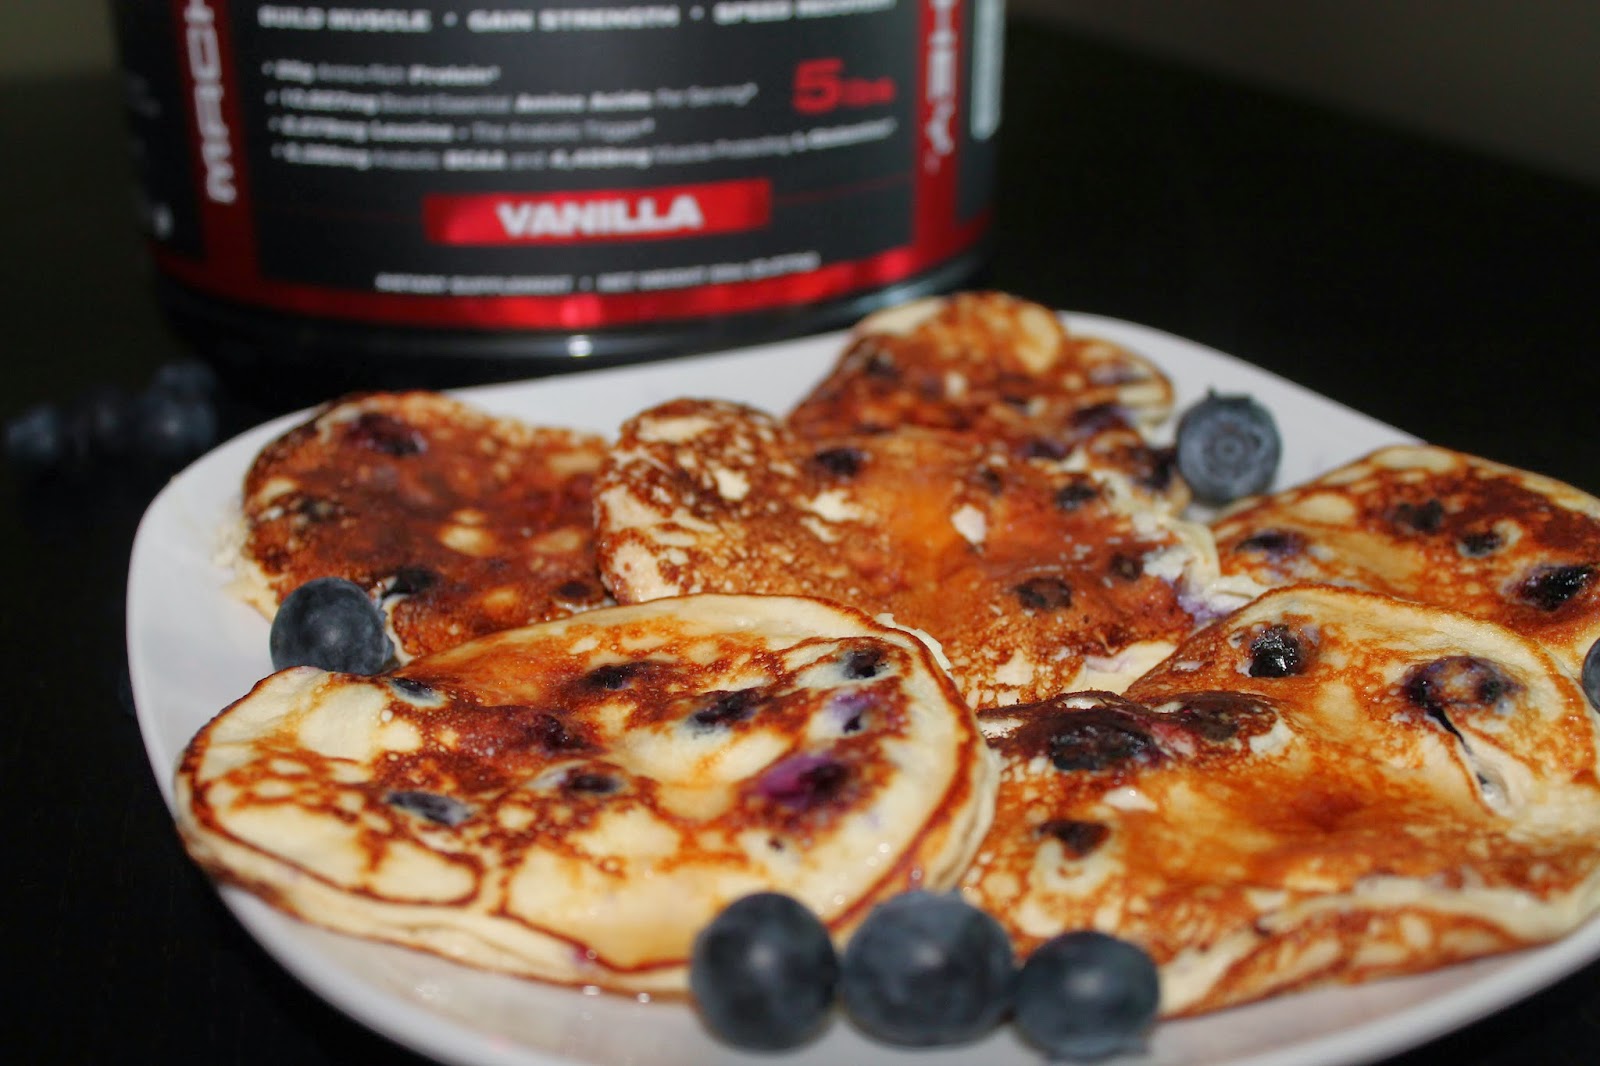
  • 1/2 scoop MTS peanut butter fluff whey (15g)
  • 1/2 cup fat free vanilla bean ice cream (68g)
  • 1 T sugar free chocolate syrup (7g)
  • 2 T fat free Reddi Whip (5g)
  1. Chop up peanut butter cups and set aside.
  2. Mix together protein powder and ice cream.
  3. Stir in peanut butter cup chunks. 
  4. Put in freezer for a bit to let it set up.
  5. Add whatever toppings you like or just eat as is!!
Blizzard with toppings
380 calories
18g Fat
33g Carb
34g Protein

Tuesday, June 17, 2014

Quest Creation - Strawberry Cheesecake Bites

It is no secret that I LOVE Quest Bars!
Some may even call it an obsession...

Anywho...they are delicious, good for you, and you can just do so much with them! Most people think you just eat a protein bar out of the wrapper.  Wrong!! How about turning one into some Strawberry Cheesecake Bites!?
Now you see why I love these bars so much! What other protein bar can you turn into such an amazing and healthy treat!?

These are so simple too!
You just need a strawberry cheesecake bar, fat free cream cheese, sugar free strawberry jam, and vanilla.
*You can make this with other flavors bars too! Get creative!

Take the Quest Bar, unwrap it, and place it on a microwave safe plate. If you have some parchment paper it is helpful to put the bar in that.  Less sticky.
Microwave for about 10-15 seconds.  Just long enough to make it soft enough to work with.

Get whatever size baking dishes you want and coat with nonstick spray.  You could make one big dessert, but I chose two smaller ones. 
Just mold the softened bar into the dish! Easy!

Bake at 350 for about 10 minutes or until they are just a little brown around the edges.
Perfect! Let them cool a bit and then pop them out of the baking dishes.  They may stick a bit so I just run a knife along the edges.  

Make sure they are nice and cool before adding the filling.
We will mix up the cream cheese while they cool a little longer. 

All you need is fat free cream cheese and vanilla. You can add a little sweetener if you like too. I mixed up a whole batch of this, but will only use about 4 tablespoons. 
Is is also really good as a bagel spread, on rice cakes, or as a dip for all kinds of things!

Just fill your baked Quest cups with some of the cream cheese mixture and top with jam.  
So simple and so amazingly delicious! Best part is that these little desserts are quite healthy! They are sweet and creamy and packed with protein!

The first bite is heavenly! I made two of these treats so I could share with my husband...
I ate both of them...sorry not sorry!!

I have said it before and I will say it again. If you have not tried Quest Bars yet, I highly recommend it! You can order some online here or buy from health stores like GNC or Vitamin Shoppe.
 
You know you want to make these!

Strawberry Cheesecake Bites
  • Strawberry Cheesecake Quest Bar
  • 4 T fat free cream cheese (66g)
  • 1 T sugar free jam (18g)
  • 1/4 t vanilla
  1. Unwrap bar, place on microwave safe plate.
  2. Microwave 10-15 seconds or until soft enough to mold.
  3. Spray baking dishes with nonstick spray.
  4. Press softened bar into dish.
  5. Bake at 350 for 10 minutes.
  6. Let cool.
  7. Mix together cream cheese and vanilla.  
  8. Fill Quest cups with cream cheese mixture and to with jam.
  9. Enjoy!
230 calories for both bites
 5g Fat
 35g Carb
 28g Protein

Monday, June 16, 2014

Blueberry Protein Pancakes

The number one breakfast food in my opinion is pancakes!! I say this for many reasons. For starters, they taste great! Also, you can make them in basically any flavor, they are quick and easy, and if you follow my recipes, they are good for you! I have made pumpkin, carrot cake, spinach, chocolate, zucchini, broccoli, and now Blueberry Pancakes!!
These are light, fluffy, and super easy!

Very few ingredients needed as always.
Vanilla protein powder, nonfat plain greek yogurt, egg substitute, vanilla, baking powder, and blueberries.

I used fresh blueberries but I am sure frozen ones would work too. 
Blueberries are so pretty!! Such a great summer snack. 

Just dump all your ingredients into one bowl and mix! I do suggest mixing everything except the blueberries first, and then stirring them in last.  
So far so good! You could also add some other berries if you like.  I have tried with some chopped up cherries, strawberries, and raspberries.  This batch is going to be strictly blueberry though.

Get your pan nice and hot and coat with non stick spray.  
It has been a while since I posted a pancake recipe, but my flipping skills are really improving!

Ta da!! You could top these with a number of different things.  I usually keep is simple with some spray butter and sugar free syrup.
Try a sprinkle of cinnamon, some greek yogurt, honey, jam, cream cheese, or some whipped cream! 

I love using the MTS vanilla whey in this recipe.  It works really well for baking, but you could use any kind.  
I have heard some people even tried with chocolate protein.  I bet cinnamon would be tasty too!

As always, these are crazy good for you! They are packed with a ton of protein and are very low carb and low fat.  Great before or after a workout! 
I don't know about you, but I love pancakes for breakfast, lunch, or dinner! Pancakes as a snack? You bet!!! There is no wrong time for pancakes! 

You can order MTS Whey here! Use code KH30 and save 30%

Blueberry Pancakes
  • 1 scoop vanilla protein powder (30g)
  • 1/2 cup nonfat plain greek yogurt (112g)
  • 3 T egg substitute (46g)
  • 1/2 cup blueberries (74g)
  • 1/2 t vanilla
  • 1/2 t baking powder
  • sweetener to taste
  1. Mix all ingredients together and cook like pancakes! Be sure to use nonstick spray!
  2. Top with sugar free syrup, whipped cream, jam, cream cheese, honey, cinnamon...

Whole batch -260 calories
 3g Fat 
19g Carb 
38g Protein

*Check out the video version too!  Blueberry Protein Pancakes

Thursday, June 12, 2014

Somersault Snack Co.

One of the many reason why I love blogging is that I get the opportunity to try and review some really awesome products! I recently got a very generous box of goodies from Somersault Snack Co
I have done quite a few product reviews, and this is the first company to include such a nice note! Love the fun and bright packaging too!! 

Somersault Snack's most important ingredient is sunflower seeds, which I love!! It is a great alternative to nuts and who doesn't love a pretty sunflower??
I got so many snacks to try! I had no idea they had so many fun flavors! I couldn't wait to try everything.  

I love the different sized bags too.  Big bags for people who like to share.  Medium bags perfect for on the go.  Little single serving bags great for tasting!
I decided to try the pacific sea salt flavor first.  With so many choices, I decided it was best to start with the simplest ones.  

Perfect little bite sized pieces! Anyone who knows me will tell you that I really enjoy tiny things.  They are just more fun and it always seems like you are getting more.
These were very tasty! Salty and crunchy.  I could really taste the sunflower seeds in these!

Dutch cocoa! Yes please! Anything chocolate is usually a winner in my opinion.
Loved the flavor of these chocolatey nuggets! They had just the right amount of sweetness.  They just kind of melt in your mouth after you crunch into them!

I was a little hesitant about the santa fe salsa...I do NOT like spicy stuff so I was worried they would be too hot for me! I had my husband be the guinea pig with these...
After he assured me that they were not spicy, I popped one in my mouth.  So good!! A teeny tiny bit of a bite, but if I can handle it, anyone can! They reminded me of BBQ chips, which are probably my favorite flavor chip.  Of course these are way better for you than any potato chip!

During my own personal tasting party, I decided to bust out some little portion cups.  Just more fun this way! Also, made me think how perfect these would be for an actual party or get together!!
Next up were the cinnamon crunch bites.  I absolutely love cinnamon so I was quite sure these were going to get a thumbs up.  Let's make that two thumbs up! These are probably my favorite out of all the flavors.  Sweet, crunchy, and simply delicious!

The only bad thing about so many great flavors is that I don't know which ones to put in my lunch for tomorrow!!
Luckily there is room for a couple bags! Chances are I will end up eating both of them!!

The only flavor left to try was the salty pepper.  I saved this for last because I was pretty sure I wasn't really going to like it.  I actually really dislike pepper...I never cook with it or put it on my food...I wanted to be sure I did a really good review so I tried them anyway.
Surprisingly, I didn't run for a napkin!! Ha, they were not overly peppery by any means.  Not my top choice, but still had a great flavor and crunch.  If you like pepper even a little bit, I am sure you will love these :)

So there ya have it!! All five flavors, taste tested and approved!! I absolutely love finding new, tasty, and healthy snacks.  These definitely meet my criteria! 
The nutritional facts vary a bit depending on the flavor.  The pacific sea salt ones are 150 calories per servings.  8g fat, 14g carb, and 6g protein.  
These yummy morsels have more antioxidants than blueberries, more protein than almonds, and more fiber than an apple! Talk about a great snack!!

I almost forgot to mention what else they sent!
I don't know if they are psychic or what, but somehow they knew about my little chapstick addiction!! This is some high quality stuff! I am very picky about what I put on my lips!

It is really hard not to smile when someone is taking a picture of you using chapstick...and really hard to put on chapstick when you are smiling...
Chapstick problems...

I really recommend trying some of these amazing snacks! I have seen them in many local grocery stores which is always great! If you can't find them near you, just order some online.  Best part is, they have 100% satisfaction guarantee! Try it and if you don't like it, they will replace it for something else or simply give you a refund.  What have you got to lose?! Nothing, nothing is the answer!! 


Wednesday, June 11, 2014

Quest Creations - Teeny Tiny Cookies

We all know I LOVE protein bars! I eat at least one a day! So the big question is...What is my favorite protein bar? Easy!!

There are so many flavors and you can do so much with them! That's right, you don't just have to eat them out of the package.  I have decided to start a new little series called Quest Creations.  I will share quick and easy ways you can enjoy these amazing bars! 

The first way is probably my favorite way of eating Quest Bars.  
Teeny tiny cookies!! You get 15 itty bitty cookies from one bar! These are some of the tastiest and healthiest cookies you will ever eat!

Did I mention they are probably the easiest cookies you will ever make too!? You can make these cookies with any flavor Quest Bar so pick your favorite and let's get started.
I chose cookie dough this time because that just made the most sense...cookie dough...cookies...

Unwrap the bar and place it on a microwave safe plate.  I highly recommend using a piece of parchment too.  DO NOT use a napkin or paper towel! You will have a sticky mess!
Microwave for about 10 seconds.  Just enough to make the bar soft enough to mold. 

Break the bar up into 15 tiny pieces and roll into balls. 
Place on a cookie sheet with parchment and press the dough balls down a bit.  Preheat oven to 350 and bake for 5-6 minutes.  That's it!!

One of the best things about this recipe is that you don't have to wait long before you have amazing cookies! 
How awesome do those look?!

I bet you never thought you could eat 15 cookies for under 200 calories! Granted they are a bit small...
Just check out that chunk! Quest Bars are very well known for all the chunks!!

Of course you could just break the bar into 2 or 4 pieces and have "normal" sized cookies...but these are way more fun!
These cookies taste fantastic too! They are nice and crunchy and just melt in your mouth. Since they are made from a Quest Bar, absolutely no guilt! Talk about a delicious and healthy snack! 

These are perfect for on the go! I love taking these to work with me.  
I just have to be sneaky because if the kiddos see me eating cookies they will want some too!!  Sorry, these are all mine!

If you have never tried a Quest Bar you really really need to get on it! You can order some here.  I promise you won't be disappointed!  I have made these cookies with just about every flavor and they were all fantastic! Apple Pie and White Chocolate Raspberry were two of my favorites.
Once you have some bars, chose your favorite flavor and make yourself these teeny tiny cookies.

Teeny Tiny Cookies
  • Your favorite Quest Bar
  1. Microwave bar for 10 seconds. (be sure to use parchment or microwave safe plate)
  2. Break bar in to 15 tiny pieces and roll into balls. 
  3. Place on baking sheet and press down a bit.
  4. Bake at 350 for 5-6 minutes.
  5. Enjoy eating over a dozen cookies!!
Makes 15 cookies - 190 calories 
8g Fat
21g Carb
21g Protein

**Macros will vary slightly based on which bar you use**